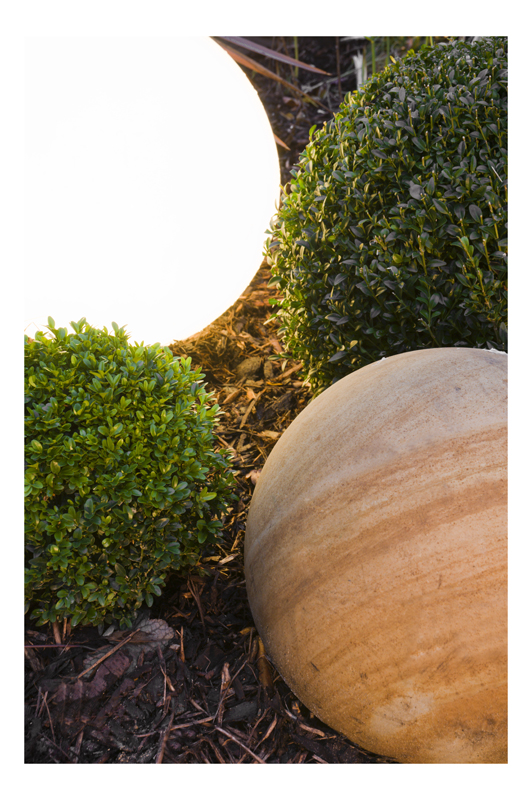
Garden Design Tip #2: Create your own concrete spheres

So for garden design tip #2, when planning your planting design, consider form and textures as well as practical issues such as flowering times and size. The addition of a strong form in contrast to soft planting, such as grasses, can create an eye-catching and dynamic juxtoposition that will really make your garden stand out. There are a number of ways you can achieve this, from interspersing the planting with a selection of ‘found’ objects rescued from boot sales, skips and forgotten cupboards, to growing climbers up willow obelisks. Spheres are a really good way of achieving a designer feel to a garden and can be found in a variety of materials. They also work particularly well in repetition or groups.
- Inflatable ball
- Vaseline
- Chicken wire (fine gauge)
- Cement (low aggregate)
- Tie wire
- Snips
- Old rags
- Liquid dish soap
- Cement pigment (if desired)
Step 1:
Blow up your inflatable ball. The inflatable ball should be the approximate size that you want your concrete sphere. Beach balls and exercise balls work well. Once the ball is inflated, coat the entire surface with Vaseline, use liberally as this coating will be what will allow you to withdraw the ball from your sphere when you are done.
Step 2:
Wrap the ball in a layer of chicken wire as tightly as you can. It is up to you if you leave the opening to the sphere free of chicken wire now or cut it out later. However, make sure that you plan for the opening to be in the same place as the plug for your inflatable ball so you can easily deflate it when the time comes.
Step 3:
Cut about 20 pieces of three-inch tie wire and pass each wire under the chicken wire, twist it once so it is tight to the chicken wire and then pull the ends away from the ball. Do this every five inches around the ball. In the end you should have a ball that looks like it has spikes or cactus needles coming out of it.
Step 4:
Mix a small batch of concrete. You want your concrete to be almost in a slurry form, more of a batter texture than clumpy. Coat the ball with your concrete slurry, just enough to cover the chicken wire, but don’t worry if any is still showing. Let the concrete dry for about 45 minutes, depending on the climate you are in.
Step 5:
Wrap your concrete sphere in chicken wire again twisting the tie wires to hold it in place and pulling the ends out so they are like spikes again. Mix another batch of concrete and coat the ball again. Allow time to dry.
Step 6:
Repeat Step 5 three more times. On the last layer of chicken wire, bend the ends of the tie wires down and back through the wire so they do not poke up. Coat the sphere with a final layer of concrete, using slightly more then you did on the previous layers. Let the sphere sit overnight to cure.
Step 7:
Deflate the ball inside your sphere and pull it out through the opening. Clean out the Vaseline inside the ball with some old rags and dish soap and you are ready to fill your sphere with potting soil and plant your flowers.

