Decorating your Garden: Mosaic Away

Consider using mosaic as a way to bring colour and interest to your garden. Mosaic is an ancient art, dating back to before Roman times, and is versatile enough to suit just about any style and taste.
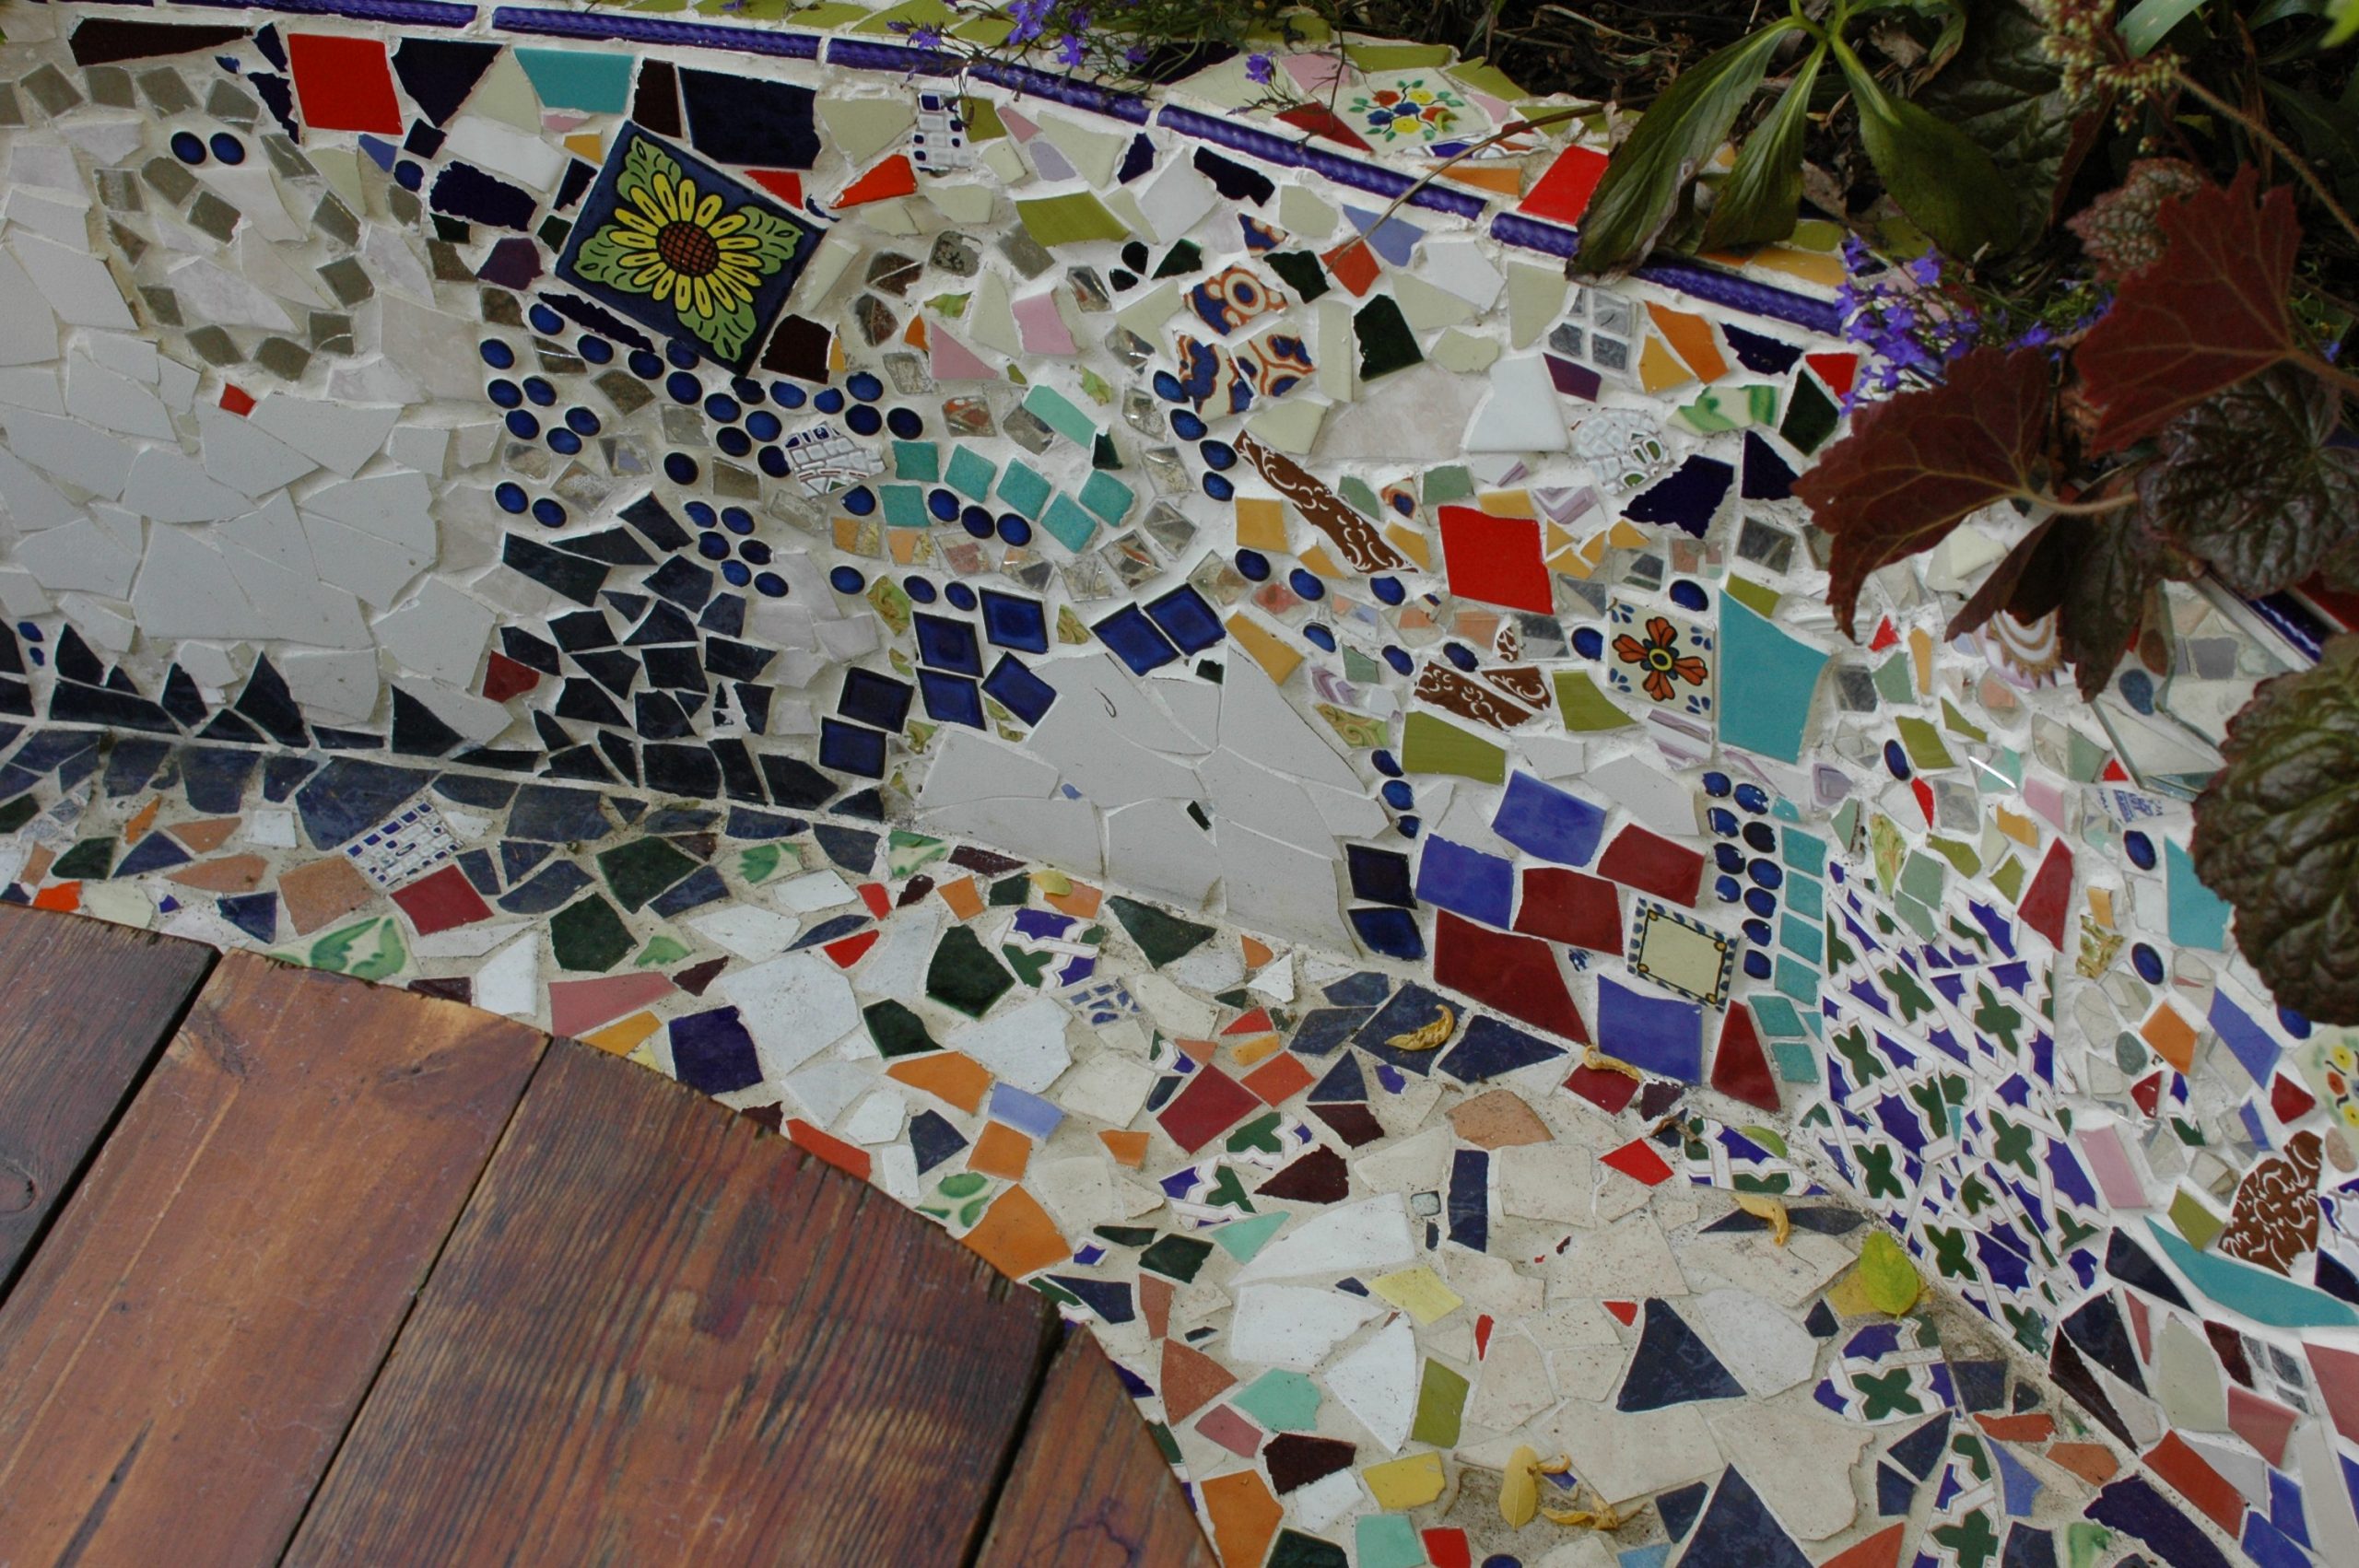
A simple mosaic is not as difficult to create as you might first think. You can create mosaic panels of just about any shape and pattern with only a few tools and a little imagination. All you need are a few large sheets of brown paper, some PVA glue and a paintbrush, a hammer, some tile nibblers and a pair of scissors. The other essential ingredient is lots of tiles. You can often get hold of a good selection of white, coloured and patterned tiles by visiting local tile stockists and asking for any breakages, of which they will inevitably have a good few. When we were building our garden, which is inspired by Gaudi’s Parc Guell in Barcelona and is covered in mosaic, we managed to scrump dozens of boxes of broken tiles from local tile shops. Another good way to get material for your mosaic (it doesn’t have to be all tiles) is to visit charity shops and buy up old tea- and dinner-services. These often have lovely patterns which look great when mixed with other tiles.
Next you’re going to have a smashing time… quite literally. Get your tiles and start breaking them with a hammer. You might want to keep different colours and patterns seperate – perhaps even get a selection of small cardboard boxes from a supermarket – as this will make it easier to create the pattern you want when you start making the mosaic. Try not to smash them too small or too evenly. The more variation in size and shape you have, the more interesting the patterns you can create.
Once you have enough tile pieces to create your mosaic, cut a piece of brown paper to slightly bigger than the size of the panel you want to create. Don’t get too ambitious on your first few attempts – keep it small, especially if you have little experience of tiling.
Now it’s time to start creating your mosaic. You can freestyle it here, or you may want to draw a pattern or picture on your brown paper to use as a guide. Paint one side of the brown paper with a layer of PVA glue (if you drew a pattern on the paper, make sure this is the side you coat) and place glue side up on a flat surface. Don’t make the glue layer too thick – just enough to grab the tiles and stick them down. Place your tile pieces with the glaze face down on the sheet of paper, starting in one corner (leaving a small gap around the edge of the paper – this makes the panel easier to handle when you come to install it) and working your pattern outwards towards the other corners. Don’t be afraid to be inventive with colours and don’t forget about white – it helps to make the other colours stand out. If you have a section where you can’t find a tile to fit, you can use the tile nibblers to shape a piece to order.
Once finished, leave the panel to dry until it’s stiff (don’t try moving it before it is dry, as the tile pieces will drop off) and then install on the wall or floor of your choice as you would a normal tile. Once the tiled panel is firmly stuck down, you can remove the brown paper from the front of the tile by soaking with some warm soapy water. The panel is then ready to grout.
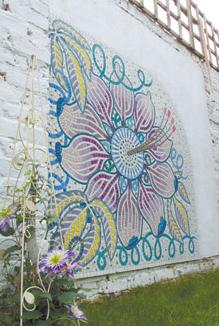
You can create some stunning, highly personal original works of art with mosaic. The only limit really is your imagination. However, if you aren’t confident in making your own mosaic, you could always employ the services of a mosaic artist such as Jo Thorpe to create a piece for you. She can create and install pieces in situ or design and create a panel off-site which is then sent to you for installation.


